Avoid the worst tech habit I ever picked up: SHIFT + DELETE
Deleting files and folders permanently with a keyboard shortcut is OK, until it’s not.
Most of my articles are about how to do things faster with your computer. Today I’m going to try something a little bit different.
This is one example when it’s OK to do things slower, to take your time. I’m talking about deleting files and folders permanently, by skipping the Recycle Bin in Windows.
You see, there’s a very fast way to completely erase something from your computer.
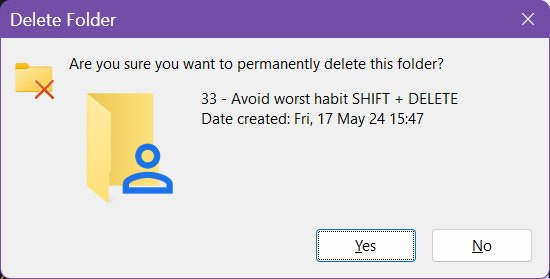
The quick way I’m talking about is to delete stuff in Windows by holding the Shift key, then pressing the Delete key. This will trigger the following warning:
If you now press Enter, the selected item(s) will be immediately erased from your computer.
This saves you a bit of time. You no longer have to right click the Recycle Bin, select Empty Recycle Bin, then confirm. And because I love keyboard shortcuts it’s why for the longest period of time I can remember, I was using SHIFT + DELETE on a regular basis. That was until I repeatedly hit the downside of this method.
The downside is pretty obvious: you will no longer be able to recover the deleted file or folder(s) without resorting to third party apps. Usually, these tools are not very user friendly, at least for beginners, and they’re not free. Data recovery is not free in general, by the way.
Even if you’re using a data recovery tool, full recovery of deleted content is not guaranteed. That’s because when you delete something, the disk space is freed immediately, and the operating system can overwrite it with different file contents.
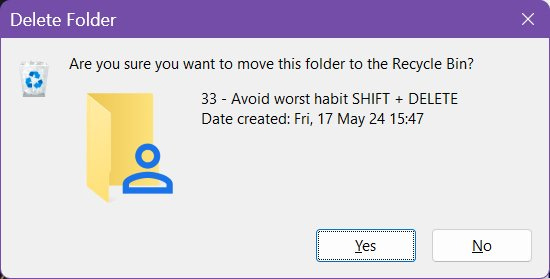
That’s why I now think it’s best to use the normal Recycle Bin deletion process: when you delete something the items are moved to the Recycle Bin. The confirmation dialog, shown after you press Delete, confirms things will be moved indeed, not erased.
Deleted items are kept there until you:
Empty the bin.
The maximum amount of space allocated to the bin is reached.
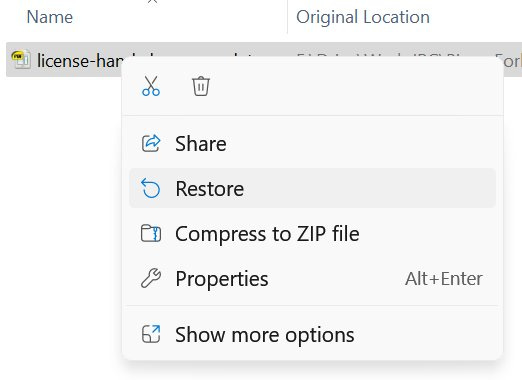
If you want to recover a file moved to the bin, just open the bin, right click the item, and select Restore. It will be moved automatically to the previous location. It’s that simple.
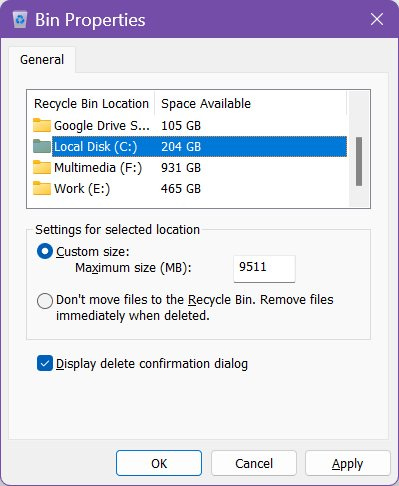
To keep erases items for longer you can set individual quotas for all your disk drives from the Recycle Bin properties window (available with a right click).
By the way, if you want to go nuts, you can even set the default Delete key to skip the Recycle Bin. Maybe you shouldn’t do it. I’m just saying.
I know this may not be the best productivity trick, until you realize you can spend significantly more time trying to recover something you have deleted in a rush, or by mistake.
Previous tips you may have missed
Did you know you can rename multiple files in File Explorer by jumping from one item to the next one? I’ve explained how to do that in this article. You can save a lot of time and the shortcuts are easy to remember.


