Learn how to take better screenshots in Windows
Using just keyboard shortcuts in Windows, you can capture the entire screen contents, the active window, a rectangular region, or a freeform region.
I don’t have to tell you why knowing how to take screenshots is important. The motives can range from “Here’s the problem, please fix it.” to “This is what showed up on my screen. Please help!”.
Most people know about the PrintScreen key, usually labeled as PrtScr, but do you know there are multiple ways to take screenshots in Windows?
Why would you care? Isn’t one method enough?
Well, most of the time I don’t think you want to send someone the entire contents of your screen. What if there’s sensitive information displayed? You would have to crop the screen capture before sending.
So, why not save yourself the trouble of editing screenshots by capturing only what is needed.
The keyboard shortcuts you can use to take different types of screenshots
Let’s start with the basics, the keyboard shortcuts and what they do:
PrtScr (PrintScreen key): captures what you see on all your displays and saves the image in the clipboard memory. You need to paste the image in a document or photo editor.
Alt + PrtScr: only captures the current active (selected) app window to the clipboard. Again, you need to paste the contents somewhere after that.
Win + PrtScrt: saves the content of all monitors to a file (also flashes the screen). The contents are also copied to the clipboard, so you can paste the image later.
Win + Shift + S: Opens the free Snipping Tool utility for advanced captures (rectangular area and freehand shape).
The first three options are really simple to use. Press the correct combination and the screen capture is copied to the clipboard memory, and optionally saved to disk (the 3rd option).
Use Snipping Tool for advanced captures: rectangular and free form shape
What about the 4th method? What is the Snipping Tool?
I’ll keep this short: the Snipping Tool is Microsoft’s advanced utility for taking screenshots, and (in newer versions) allows even video recordings. But that’s for another time.
Don’t worry, you don’t need to download and install the Snipping Tools. It comes preinstalled.
Let’s see how Snipping Tool works for screenshots. First, press Win + Shift + S. The screen will get a bit darker, and a small overlay window will appear on top of your main display.
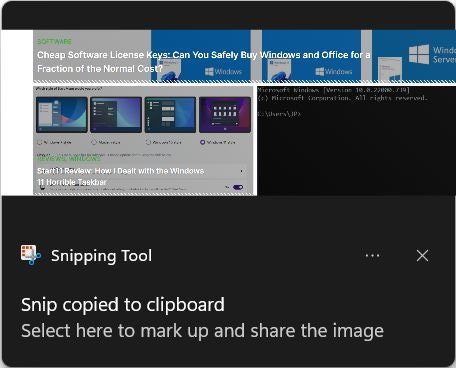
The first option is the Rectangular mode. With this mode selected draw a rectangle on screen. Once you release the left mouse button a notification will let you know that the screen capture was saved to the clipboard.
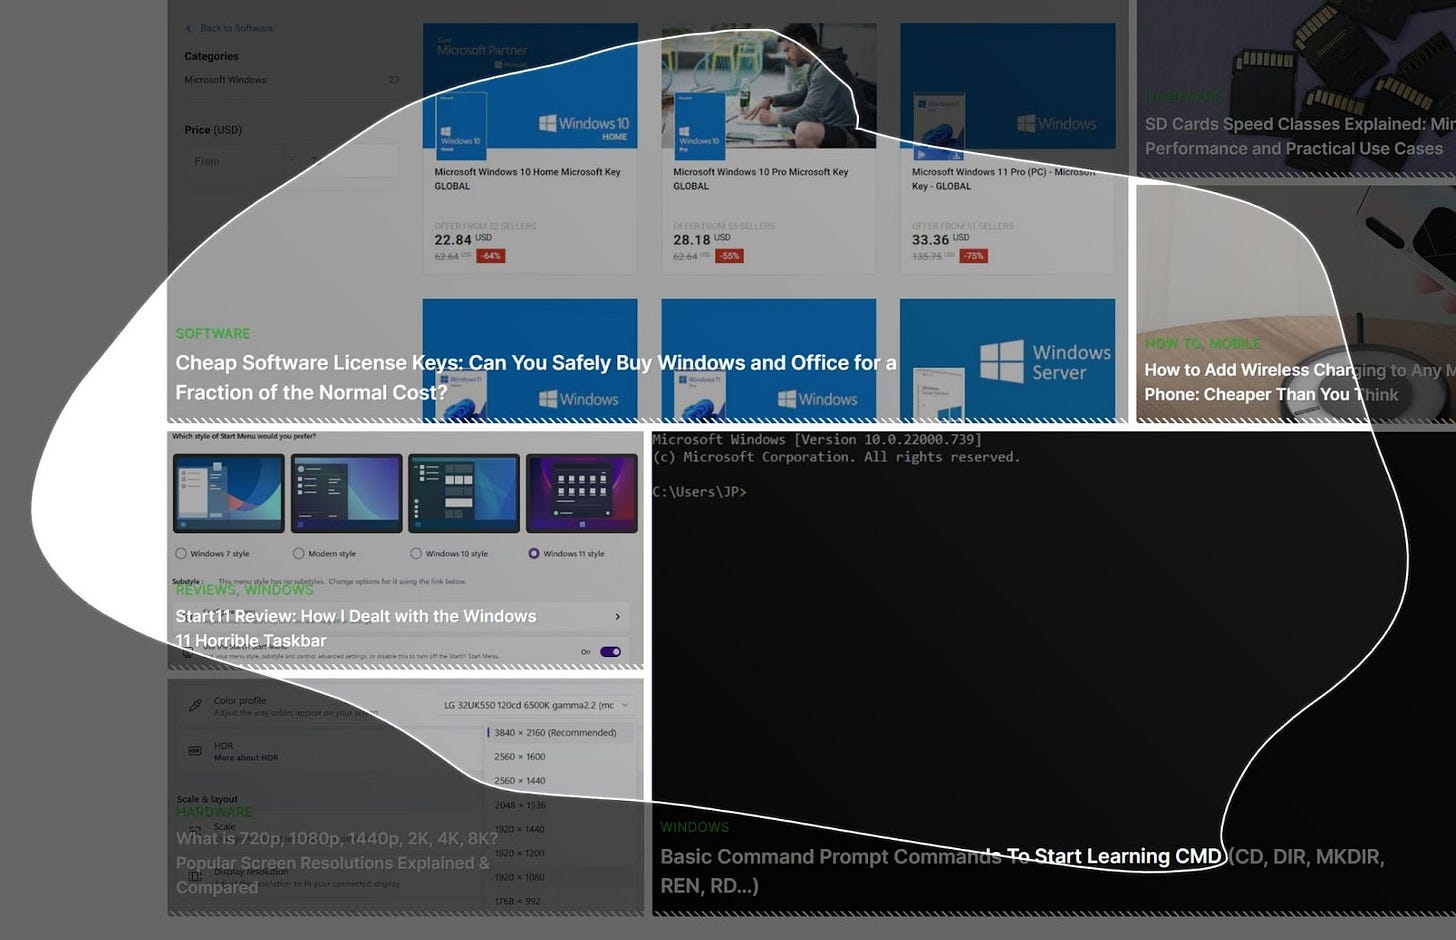
If you choose the second option, Freeform mode, you can draw a random shape on screen. The contents of the selected area will be saved to the clipboard. Since an image can only be rectangular, the “empty” areas will be saved with transparency, aka you can see whatever is displayed below that area.
The next two modes are Window mode and Fullscreen mode. These two correspond to pressing Alt + PrtScr, or just PrtScr. There’s no other difference.
Depending on how you configure the Snipping Tool, once you take a screenshot using one of the four modes, the contents will be saved to clipboard, to disk, both, or none.
Wait, what do you mean none? Why would I take screenshots if they’re not saved anywhere?
Remember I told you about a small notification being displayed in Windows (lower right)? It looks like this:
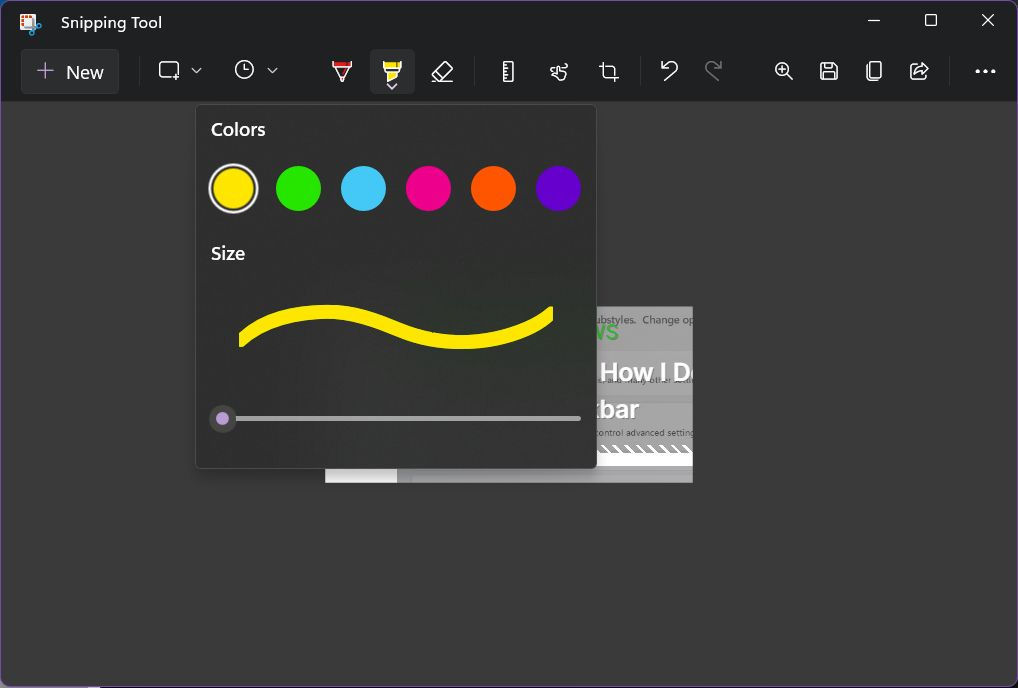
If you click on the notification, you can edit and annotate the image with a marker or hand drawing. You can also crop the screen capture a bit more, measure length and angles, or even extract text via OCR.
If you miss the notification (it only shows for a few seconds) click on the notification bell on the lower right corner of the screen. That will open the notification center where you’ll find all notifications.
If you want to learn more about the Snipping Tool, I suggest you study my other guide.
Where are screenshots saved?
Let’s end with a useful section: finding your screenshots. Useful, right?
99% of the time the screenshots will be automatically copied to the clipboard. That’s a temporary memory that will get reset when you restart your computer. Also, if you copy something else, the contents of the clipboard will be overwritten. Thankfully, I showed you how to recover the last 20 copied items using the clipboard history.
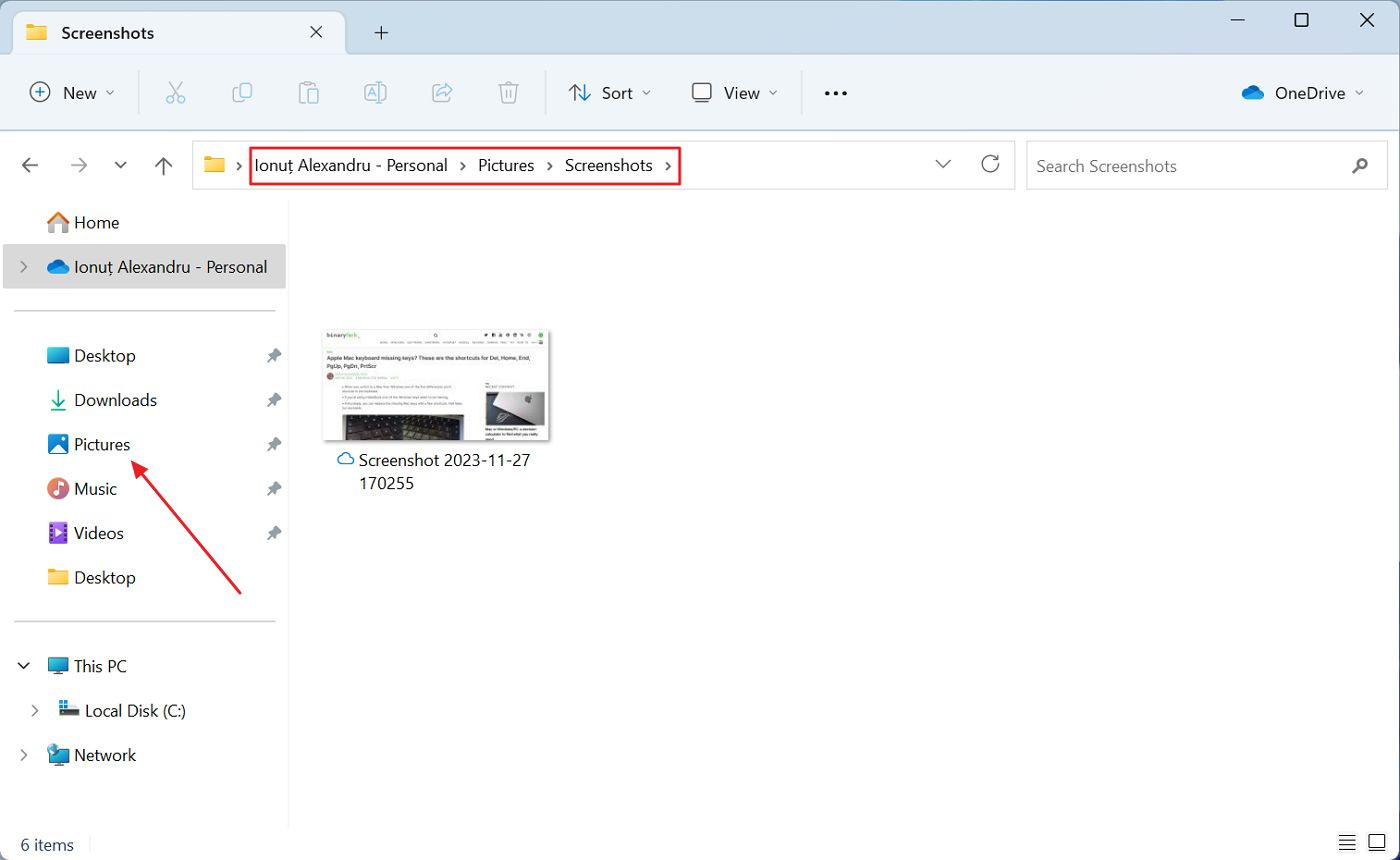
If you chose to use Win + PrtScr or set Snipping Tool to automatically save captures as images on your local computer, you’ll find them in one of the following places:
C:\Users\CURRENT_USERNAME\Pictures\Screenshots\
ONEDRIVEFOLDER\Pictures\Screenshots\
Either way, open File Explorer (you can use Win + E) and in the left side column you’ll see Pictures. Clicking on the icon will automatically open the Pictures folder. Just look for the Screenshots subfolder and all your saved screen captures will be there.
Previous tips you may have missed
Last week I told you about my favorite productivity hack: don’t use a laptop for serious work. If it sounds weird, just read what I said then and leave a comment with your thoughts. I’m curious if you agree or not.


